
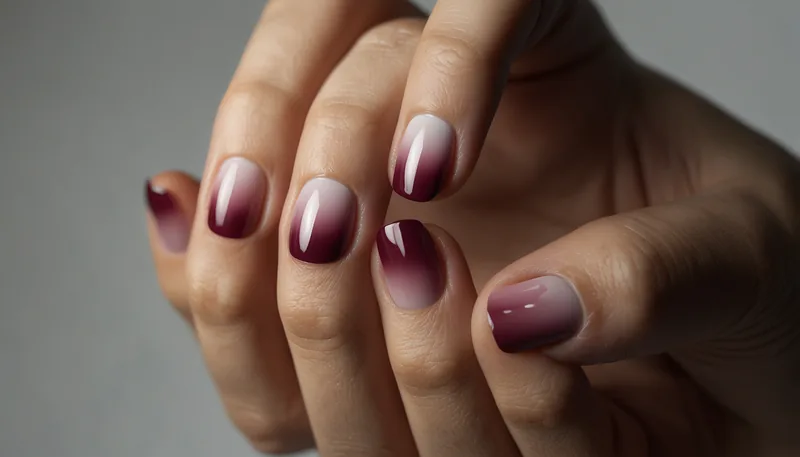
Ombre nails have become one of the most sought-after nail designs in recent years, and for good reason. The term “ombre” refers to a color gradient or fade effect that transitions smoothly from one shade to another. This technique creates a stunning visual effect that looks professional, sophisticated, and incredibly stylish.
The beauty of ombre nails lies in their versatility. Whether you prefer subtle, barely-there gradients or bold, contrasting color transitions, ombre nails can be customized to match your personal style, outfit, or mood. From soft pastels to dramatic dark shades, the possibilities are virtually endless.
What makes ombre nails particularly appealing is that they don’t require intricate nail art skills or complex designs. Instead, they rely on a simple blending technique that creates an elegant, high-impact look. This democratization of nail art has made it accessible to everyone, regardless of their artistic abilities.
The popularity of ombre nails has also grown because they’re extremely forgiving. Unlike detailed nail art designs where mistakes are obvious, slight imperfections in ombre nails blend into the gradient effect, making them perfect for home application. Additionally, ombre nails tend to hide nail growth better than solid colors, meaning you can enjoy your manicure for longer between touch-ups.
Essential Tools and Materials You’ll Need
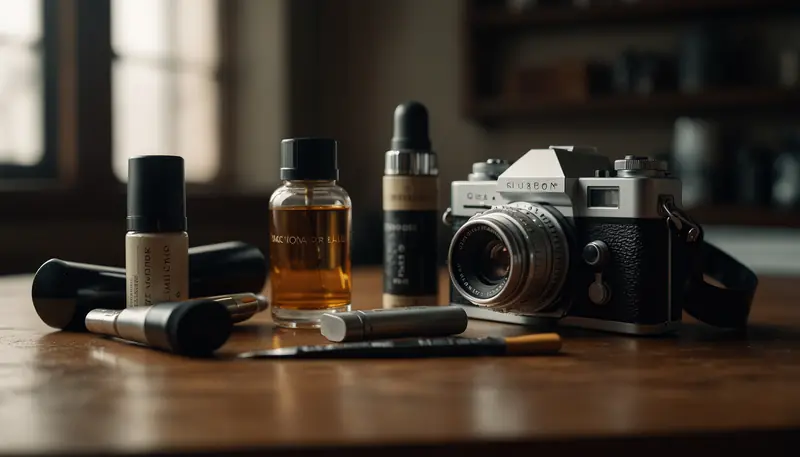
Before you start creating your ombre nails at home, gather all the necessary supplies. Having everything prepared will make the process smoother and more enjoyable. Here’s what you need:
Nail Polish Colors
Select two or more complementary nail polish colors for your ombre effect. Beginners often find success with two contrasting shades—a lighter shade and a darker shade. As you gain confidence, you can experiment with three or more colors for more complex gradients. Choose between traditional nail polish, gel polish, or acrylic for different finishes and longevity.
Base and Top Coat
A high-quality base coat protects your nails from staining and provides a smooth surface for polish application. The top coat seals your design and adds shine while extending the wear time of your manicure. For gel or acrylic ombre nails, use products specifically designed for those systems.
Sponge
This is the most crucial tool for creating ombre nails. Most professionals use a small, fine-textured makeup sponge or a specialized nail sponge. Regular kitchen sponges work but produce less refined results. You’ll need one sponge per ombre design to avoid muddy color mixing.
Nail File and Buffer
A gentle nail file shapes your nails to your desired length and style, while a buffer smooths the nail surface and removes ridges. These prepare your nails for a flawless base.
Nail Dehydrator or Rubbing Alcohol
These products remove oils and moisture from your nails, ensuring better polish adhesion and longer-lasting results. You can use isopropyl alcohol as a budget-friendly alternative.
Cuticle Pusher and Nail Clipper
Properly groomed cuticles and nail length are essential for a polished appearance. Use a cuticle pusher to gently move back cuticles and clippers to achieve your desired nail length.
Nail Brush
A soft brush is useful for applying base coats and for cleaning up any excess polish around the nail edges.
Cotton Pads or Makeup Wipes
These are essential for cleanup and for removing excess polish from your sponge between color applications. Keep several on hand for easy access.
Nail Art Palette or Ceramic Plate
Create a mixing surface where you’ll dab your polish colors before applying them to the sponge. A white ceramic plate or a dedicated nail art palette works perfectly.
Step-by-Step Guide to Creating Ombre Nails at Home
Now that you have all your supplies ready, let’s walk through the process of creating beautiful ombre nails at home. Follow these detailed steps for the best results:
Step 1: Prepare Your Nails
Begin by removing any existing nail polish using a gentle nail polish remover. Push back your cuticles using a cuticle pusher, being careful not to cause any damage. File your nails to your desired length and shape—whether that’s square, rounded, or almond. Use a buffer to smooth the nail surface and create a slightly textured base that helps polish adhere better.
Step 2: Cleanse and Dehydrate
Wash your hands thoroughly with soap and water, then dry completely. Use a nail dehydrator or rubbing alcohol on each nail to remove oils and moisture. This crucial step prevents polish from peeling or chipping prematurely. Allow the dehydrator to dry for a few seconds before proceeding.
Step 3: Apply Base Coat
Apply a thin, even layer of base coat to all nails. The base coat protects your nails from staining and creates a smooth surface for the ombre effect. Allow it to dry completely—usually 2-3 minutes for regular polish, 30 seconds to 1 minute for gel polish under UV light.
Step 4: Apply the Lighter Polish Color
Paint your first (lighter) polish color across all nails in thin, even coats. You may need two coats to achieve full coverage, especially with lighter shades. This color will form the base of your ombre gradient. Allow each coat to dry before applying the next.
Step 5: Prepare Your Color Palette
Squeeze small drops of your lighter and darker polish colors onto a ceramic plate or nail art palette. Space them a few inches apart, as you’ll be blending them together with your sponge. Ensure the colors are fresh and wet—dried polish won’t blend as smoothly.
Step 6: Create the Gradient on Your Sponge
This is where the magic happens. Dab your sponge gently into the lighter color first, then tap it into the darker color next to it. You want the colors to touch and slightly overlap on the sponge. This overlap area is what creates the gradient blend. You can add a third or fourth color if desired, always ensuring colors overlap slightly.
Step 7: Apply the Ombre to Your Nails
Gently press the sponge straight down onto your nail, starting from the tip and working toward the base. Don’t swipe or drag—use a bouncing or dabbing motion. You may need to apply multiple times to build up color and create a smooth gradient. Work on one nail at a time for best results.
Step 8: Clean Up Excess Polish
Use a damp cotton pad or makeup wipe to clean up any polish that got on your skin around the nail. This step is important for a professional appearance. A thin brush or the pointed end of a cuticle pusher also works well for precise cleanup.
Step 9: Apply Top Coat
Once all nails are complete and dry, apply a generous layer of top coat to seal in your ombre design. The top coat adds shine, smooths out any texture, and significantly extends the lifespan of your manicure. Allow it to dry completely before using your hands.
Step 10: Enjoy Your Manicure
Admire your beautiful new ombre nails! They should display a smooth, professional-looking gradient from one color to another. If you’re not entirely happy with your first attempt, remember that practice makes perfect, and each time you’ll improve your technique.
Choosing the Perfect Color Combinations for Your Ombre Nails
The color combination you choose can dramatically affect the overall look and feel of your ombre nails. Here are some popular and stunning combinations to inspire your next manicure:
Classic and Timeless Combinations
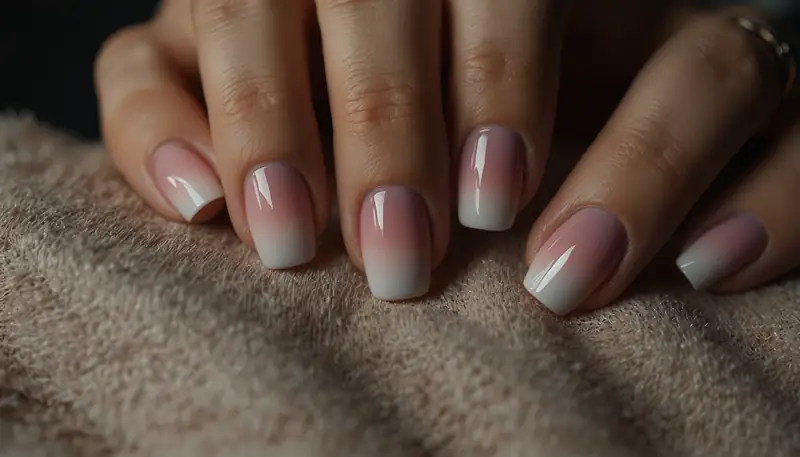
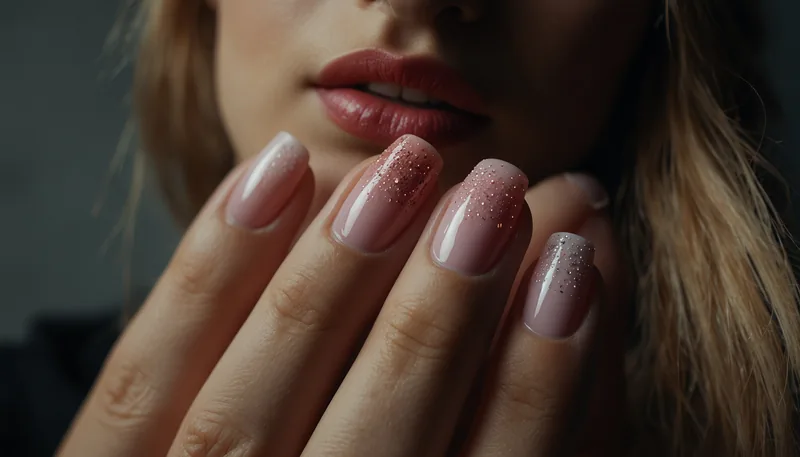
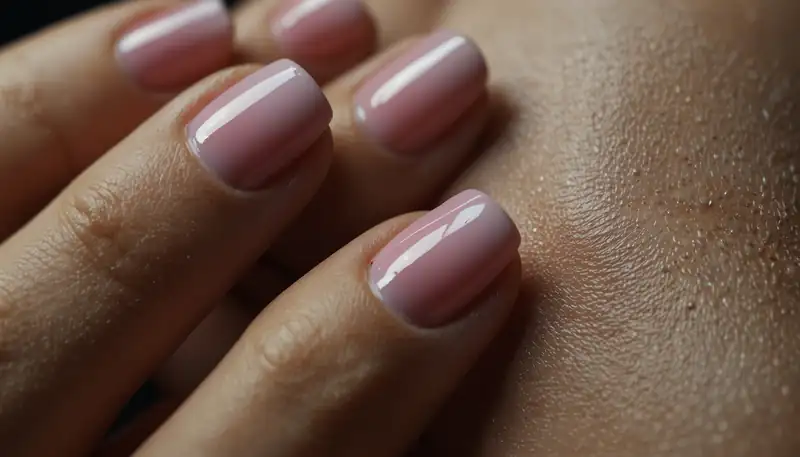
Pink to White: A soft, romantic gradient that works for any occasion. This combination is perfect for weddings, date nights, or everyday elegance.
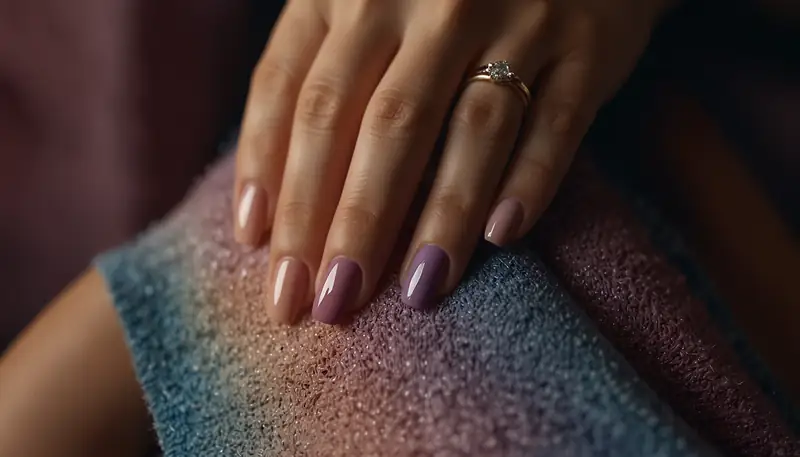
Nude to Brown: A sophisticated, understated gradient that enhances any skin tone. This is ideal for professional settings and adds a subtle polish to your appearance.
Black to Silver: A glamorous and edgy combination that’s perfect for evenings out or special occasions. The contrast is bold and striking.
Seasonal Color Combinations
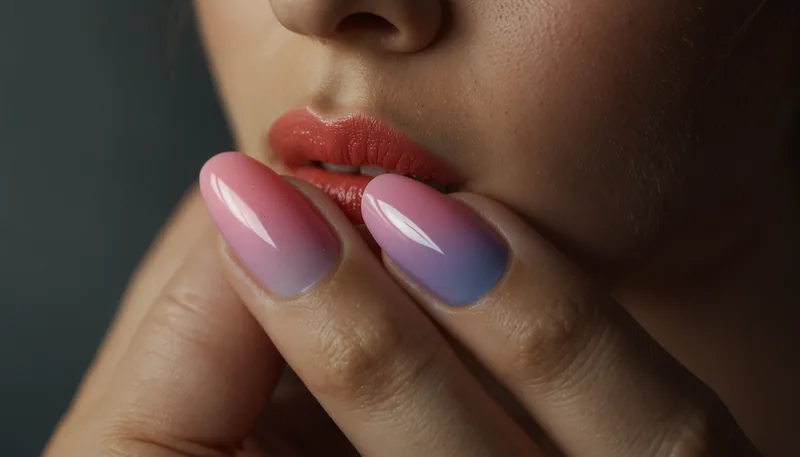
Spring: Pastel pink to lavender, soft yellow to peach, or mint green to white. These light, fresh combinations capture the essence of the season.
Summer: Coral to orange, turquoise to blue, or yellow to coral. These vibrant combinations are perfect for beach days and outdoor activities.
Fall: Burgundy to orange, deep red to gold, or burnt orange to brown. These warm, earthy tones reflect autumn’s natural palette.
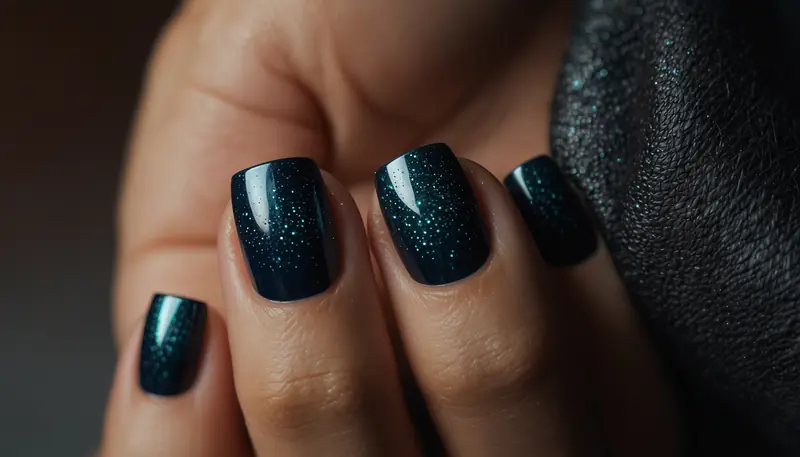
Winter: Navy to silver, deep purple to white, or emerald to gold. These rich, cool tones evoke the winter season’s elegance.
Trendy and Modern Combinations
Sunset Gradient: Combine yellow, orange, and pink for a stunning sunset effect that’s warm and eye-catching.
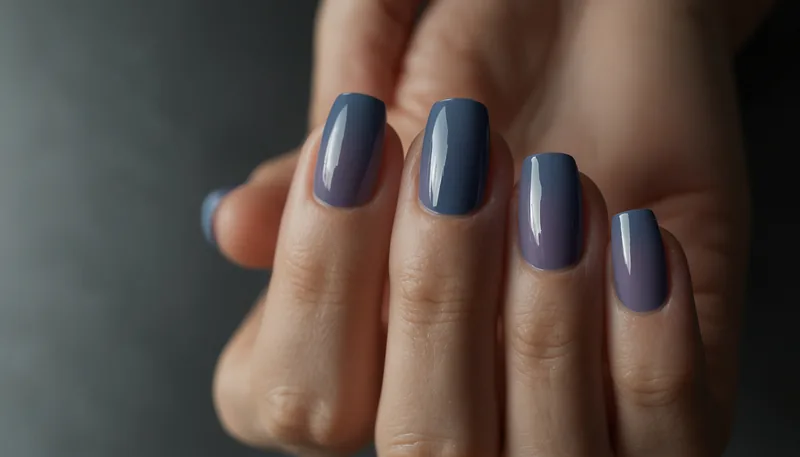
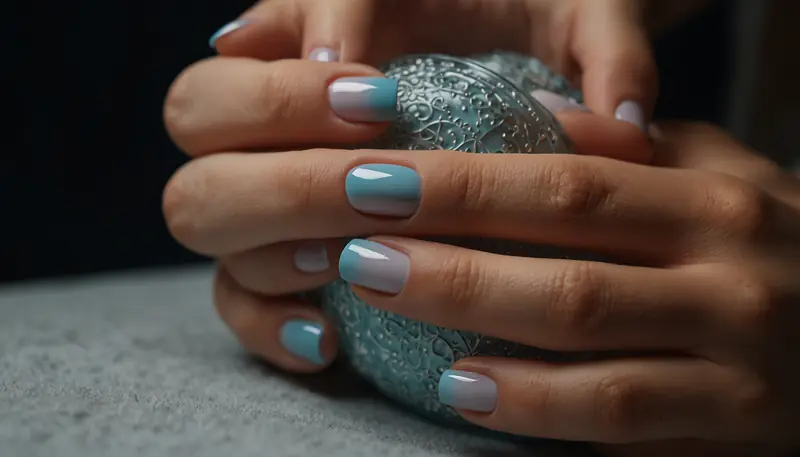
Ocean Ombre: Blend light blue, teal, and deep navy for a calming, water-inspired design.
Purple Dreams: Create a gradient from light lavender through purple to deep plum for a mystical, luxurious look.
Skin Tone Considerations
When selecting ombre colors, consider your skin tone. Fair skin tones pair beautifully with pastels, cool tones, and bold contrasts. Medium skin tones are versatile and look stunning with warm and cool colors alike. Deep skin tones are complemented by jewel tones, warm oranges, and bold colors that create striking contrasts.
Don’t hesitate to experiment and try unexpected combinations. Personal preference always trumps conventional wisdom when it comes to nail color.
Common Mistakes to Avoid When Doing Ombre Nails
Learning from others’ mistakes can help you achieve perfect ombre nails faster. Here are the most common errors and how to avoid them:
Using Dried-Out Polish
Old, thick, or separated polish won’t blend smoothly. Always use fresh polish and ensure your bottles are properly sealed. If your polish has thickened, add a few drops of polish thinner—never use acetone or remover.
Pressing Too Hard with the Sponge
Aggressive sponge application can create a blotchy appearance and push the base coat off the nail. Use a gentle, bouncing motion instead of pressing hard or dragging the sponge across the nail.
Not Overlapping Colors Enough on the Sponge
For a smooth gradient, your colors must overlap on the sponge. If they’re too far apart, you’ll see a harsh line instead of a smooth transition. Ensure colors touch and blend slightly on the sponge before applying.
Skipping the Base Coat
Many beginners skip this step to save time, but the base coat is crucial for preventing staining and extending wear time. It also provides a better surface for polish adhesion.
Dirty or Old Sponges
Using a sponge that’s been exposed to air for too long or contains old polish will compromise your gradient. Use fresh sponges for each manicure or ensure sponges are properly stored in an airtight container.
Uneven Base Color
If your base color isn’t evenly applied before the ombre effect, the finished design will look patchy. Apply your base color in smooth, even coats and allow proper drying time.
Using Incompatible Polish Types
Mixing regular polish with gel polish or acrylics can create application issues. Stick to one system (all regular, all gel, or all acrylic) for consistent results.
Not Allowing Adequate Drying Time
Rushing between steps can cause smudging and color mixing in undesired ways. Allow each layer to dry completely before proceeding to the next step.
Tips for Making Your Ombre Nails Last Longer
Once you’ve created beautiful ombre nails, you want them to last as long as possible. Here are proven strategies to extend the lifespan of your manicure:
Use Quality Products
Invest in good-quality nail polish, base coats, and top coats. Higher-quality formulas adhere better and last longer than budget alternatives. Look for long-wear or gel-based formulas even if using traditional polish.
Apply Multiple Top Coat Layers
Don’t skimp on the top coat. Apply at least two layers for maximum protection and shine. Consider reapplying top coat every 3-4 days to maintain the glossy finish and extend wear time.
Keep Nails Properly Hydrated
Use cuticle oil and hand cream regularly to keep your nails and surrounding skin healthy. Hydrated nails are less prone to peeling and chipping. Learn about short nail care tips to keep your nails healthy and clean, which applies to all nail lengths.
Wear Gloves When Cleaning
Harsh cleaning chemicals and excessive water exposure can damage your manicure. Wear protective gloves when doing dishes or cleaning to preserve your ombre design.
Avoid Using Your Nails as Tools
Using your nails to open cans, scratch off labels, or pick at things can cause peeling and chipping. Use proper tools instead to protect your manicure.
Avoid Prolonged Water Exposure
While brief contact with water is fine, prolonged soaking can cause the polish to lift. Limit long baths and ensure your hands are dry after washing.
Use Sunscreen on Your Hands
UV exposure can fade nail polish colors. Applying sunscreen to your hands, especially lighter ombre shades, helps maintain color vibrancy.
Consider Gel Ombre Nails
If longevity is your priority, gel polish ombre nails last significantly longer—typically 3-4 weeks—compared to regular polish, which lasts 1-2 weeks. Gel polish is also more resistant to chipping and peeling.
Alternative Methods for Creating Ombre Nails
While the sponge method is most popular, several alternative techniques can create beautiful ombre effects:
Gradient Brush Method
Some artists prefer using a soft-bristled gradient brush instead of a sponge. Apply colors directly to the brush in a gradient pattern, then brush onto the nail. This method offers more control and requires less cleanup. It works particularly well for creating bold, defined gradients.
Fan Brush Blending
A fan-shaped brush can blend colors directly on the nail without needing a separate palette. Apply one color, then use the fan brush with a small amount of a second color to blend at the transition area. This technique is excellent for subtle, sophisticated gradients.
Water Marbling Method
While traditionally used for different nail art, water marbling can create ombre effects. Drop colors into room-temperature water, swirl to create a pattern, then dip your nails into the design. This method produces unique, organic-looking gradients but has a steeper learning curve.
Airbrushing
Professional nail artists often use airbrushes to create flawless ombre gradients. While the equipment is expensive, airbrush ombre nails offer the smoothest, most professional results. This is less practical for home use unless you’re serious about nail art.
Dry Brush Blending
Apply your base color, allow it to dry, then use a dry sponge or brush with minimal product to blend a second color from the tip inward. This creates a more subtle, blended effect and is less prone to smudging.
Three-Color Gradient
For a more complex ombre, use three colors on your sponge. Arrange them in order of light to dark, with each color overlapping slightly. This creates a more dimensional, flowing gradient that’s visually striking.
Troubleshooting Your Ombre Nail Design
Even with practice, issues can arise. Here’s how to troubleshoot common ombre problems:
Harsh Lines Instead of Smooth Gradients
Problem: You see a clear line between colors rather than a smooth transition.
Solution: Ensure your colors overlap more on the sponge before application. Try dabbing the sponge multiple times on each nail, slightly repositioning it each time to soften the line.
Muddy or Brown-Looking Gradient
Problem: Your colors appear to blend into an unappealing muddy tone.
Solution: Your colors may be too similar in tone or too heavily mixed. Choose colors with better contrast or try complementary colors instead. Also, avoid pressing the sponge too hard, which can over-blend colors.
Uneven Color Distribution
Problem: Some nails show more of one color than another.
Solution: Ensure your sponge isn’t becoming saturated with one color. Refresh your sponge and color palette between nails. Apply consistent pressure when using the sponge.
Polish Peeling or Chipping Quickly
Problem: Your ombre nails aren’t lasting as long as expected.
Solution: You may have skipped the dehydration step or applied too many thick coats. Ensure your nails are properly prepped, use thin coats, and consider applying extra top coats for durability.
Sheer or Streaky Appearance
Problem: Your ombre effect looks thin and you can see your nail through it.
Solution: Apply more coats by sponging multiple times. Ensure your base color provides sufficient coverage before applying the ombre effect.
Visible Sponge Texture
Problem: Your ombre nails have a textured, spotted appearance instead of smooth.
Solution: Use a finer-textured sponge. Dab lighter and more frequently. Ensure your top coat is thick enough to smooth over any texture.
Colors Looking Dull or Faded
Problem: Your finished ombre lacks vibrancy.
Solution: Make sure your base color coats are opaque before applying the ombre. Some polish colors naturally appear more muted; choose more pigmented formulas or add an extra coat of your accent colors.
Maintenance and Aftercare for Your Ombre Nails
Proper maintenance ensures your ombre nails remain beautiful throughout their wear time. Follow these aftercare tips:
Daily Hydration Routine
Apply cuticle oil or nail moisturizer daily, especially before bed. This prevents dryness and keeps both your nails and cuticles healthy. Well-hydrated cuticles also maintain the overall appearance of your manicure.
Protective Measures
Wear gloves when doing household chores, gardening, or any activity involving harsh chemicals or excessive water. Protect your hands from extreme temperature changes when possible. UV exposure can fade lighter ombre shades, so consider wearing UV-protective gloves or applying sunscreen to your hands.
Weekly Top Coat Refreshing
Apply a fresh coat of top coat every 3-4 days to maintain shine and seal any small areas where the polish might be lifting. This simple step can extend your ombre manicure’s life by several days.
Gentle Nail Care
Avoid aggressive filing or buffing. If you notice any peeling, don’t pick at it; instead, seal it with top coat. Trim your nails gently and avoid using them as tools.
Monitor for Growth
As your natural nails grow, the nail bed will show at the base. While ombre gradients hide growth better than solid colors, you may want to refresh your manicure every 2-3 weeks. This is also a good time to adjust the gradient if you prefer it positioned differently.
Know When to Remove
Remove your ombre nails when you notice significant peeling, lifting, or when more than half the nail shows regrowth. Leaving damaged polish on too long can weaken your natural nails. Always use an acetone-based remover and allow your nails to rest for a few days before applying new polish.
Strengthen Between Manicures
Give your nails a break between manicures. Apply nail strengthening treatments and avoid wearing polish for at least a few days. This allows your nails to breathe and regenerate, preventing weakening and breakage.
Professional Maintenance
If you prefer, visit a professional nail technician every 2-3 weeks for touch-ups. They can expertly refresh your ombre design and ensure your nails stay in optimal condition. For regular maintenance, however, home care is perfectly adequate.
Conclusion
Learning how to do ombre nails at home is an exciting journey that opens up endless creative possibilities. With the right tools, proper technique, and a bit of practice, you can create salon-quality ombre nails that rival professional designs. Remember that your first attempt doesn’t need to be perfect—each time you practice, your skills will improve, and you’ll develop your unique style.
The beauty of ombre nails is their forgiving nature. Unlike intricate nail art designs, ombre gradients hide minor imperfections, making them ideal for beginners. Start with simple two-color combinations, master the basic technique, then gradually experiment with more complex color schemes and methods.
Don’t be discouraged if your first try isn’t flawless. Even professional nail artists took time to perfect their ombre technique. Each nail you create teaches you something valuable about color blending, sponge technique, and product application. Before long, you’ll be creating ombre nails that make you proud and earn compliments from friends and family.
Whether you prefer subtle, barely-there gradients or bold, dramatic color transitions, ombre nails offer versatility that few other nail designs can match. They work for casual everyday wear and special occasions alike. Plus, with the money you save by doing them at home instead of visiting a salon, you can invest in higher-quality products and expand your color collection.
As you develop your ombre nail skills, explore the various color combinations, techniques, and styles we’ve discussed. Try seasonal palettes, experiment with unexpected color pairings, and don’t hesitate to put your personal spin on classic combinations. Your nails are a canvas for self-expression.
If you’re interested in other nail designs beyond ombre, consider exploring related nail art options. Check out the best short press-on nail kits for beginners if you want to try pre-designed options. You might also enjoy the best short press-on nails for everyday wear for convenient, salon-quality looks. For those working with shorter nails, there are 25 cute short nails ideas for 2026 you’ll want to save for inspiration.
If you experience issues with your nails, don’t worry. Learn why your short nails keep breaking and what to do to strengthen them. For those interested in acrylic designs, short square acrylic nails with summer flowers offer beautiful alternatives to traditional polish ombre.
With dedication and practice, creating stunning ombre nails at home will become second nature. You’ll find yourself looking forward to manicure days and enjoying the therapeutic process of creating beauty. Embrace the learning process, celebrate your progress, and most importantly, have fun expressing yourself through your nails. Happy ombre creating!