Press-on nails have changed the beauty industry, offering salon-quality manicures from the comfort of your home. However, the key to that flawless, professional look lies in one important step: figuring out how to measure nail size for press-on nails. Whether you have small nail beds, wide fingers, or unique nail shapes, accurate measurements ensure your press-on nails fit perfectly and last longer. In this guide, we will cover everything you need to know about measuring your nails for press-on applications.
Measuring your nails is not just about how they look; it also impacts comfort, durability, and the appearance of your press-on nails. If your nails don’t fit properly, it can lead to discomfort, unexpected popping off, or excessive filing that damages both the press-on nails and your natural nails underneath. By taking just a few minutes to measure correctly, you will avoid frustration and achieve beautiful results that last up to three weeks or more. Let’s explore the professional techniques that nail technicians use to ensure perfect sizing every time.
Why Measuring Your Nail Size Matters
Many people underestimate how important accurate nail measurement is, thinking that press-on nails are a one-size-fits-all solution. This assumption could not be further from the truth. The difference between a properly fitted press-on nail and an oversized one is immediately noticeable and uncomfortable. When nails don’t fit correctly, they can shift or bend awkwardly, creating gaps between the press-on nail and your natural nail bed.
Accurate measurements also affect how well the adhesive works. If a nail is too big, you might not achieve full contact between the adhesive and your nail bed, leading to premature lifting. Alternatively, if a nail is too small, it won’t cover your entire nail bed, leaving exposed natural nail that looks unprofessional and increases the risk of breakage. Proper sizing guarantees maximum surface contact for stronger, longer-lasting wear.
Also, correctly sized nails feel more natural on your fingers. You won’t experience that uncomfortable pinching sensation that oversized nails can cause. This comfort factor is crucial for people who regularly wear press-on nails or plan to wear them for extended periods. When your nails fit well, you can engage in daily activities without constantly noticing them.
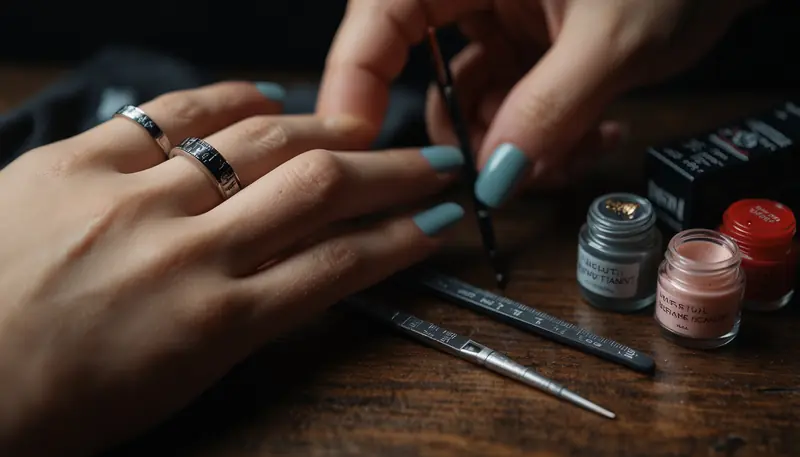
Tools You’ll Need to Measure Your Nails
Before you begin measuring, gather the right tools. You don’t need fancy or expensive items. Most measuring tools are affordable and available at drugstores, hardware stores, or online. Having the right tools makes the measurement process easier and more accurate.
- Flexible measuring tape, like tailors use, for curved measurements
- Metal ruler or straightedge for precise width measurements
- Digital caliper for extremely accurate readings
- Transparent ruler for easy nail marking without guessing
- Nail sizing wheel or chart, often included in press-on nail kits
- Pen or marker for marking measurement points
- Calculator for quick conversions between millimeters and inches
A digital caliper is particularly useful if you want the most precise measurements. These inexpensive tools measure to the millimeter and provide accurate readings quickly. Many professional nail technicians rely on digital calipers for consistency and accuracy.
If you don’t have all these tools, don’t worry. A simple clear ruler and a pen are sufficient for basic measurements. The key is to use straight, consistent measurements rather than just eyeballing it. Many people mistakenly assume they know their size without measuring, leading to poor-fitting nails.
Step-by-Step Guide to Measuring Nail Width
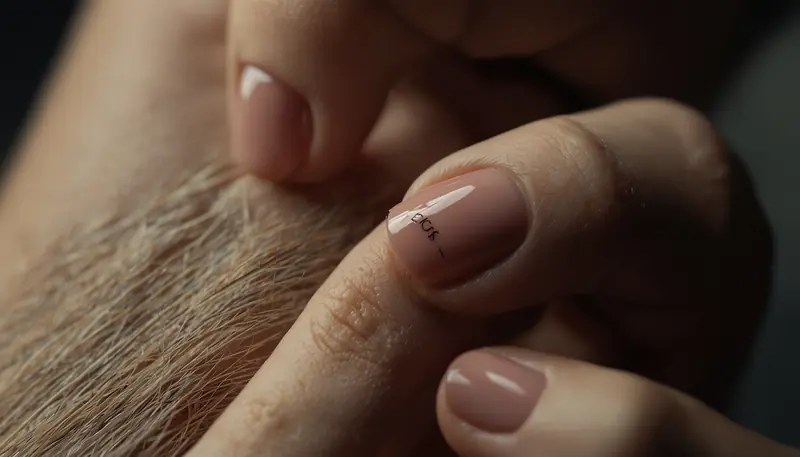
Measuring nail width is the most critical step for press-on nail fit. This measurement determines whether a nail stays centered on your nail bed or shifts to the sides. You measure width across the widest part of your nail at the point where the free edge (the white part) begins.
Start by preparing your nails. File them into your desired shape and trim them to the length you want before measuring. Your natural nails should be clean and dry. Remove any remaining polish so you can see the nail clearly. Good lighting is essential for accurate measurements.
- Place your hand flat on a white surface, with fingers relaxed and spread slightly
- Position your ruler horizontally across the nail at the point where the nail bed ends and the free edge begins
- Look straight down at the nail, not at an angle, to avoid measurement errors
- Measure from the left edge of the nail to the right edge in millimeters
- Record the measurement for each finger, as width varies by digit
- Repeat the measurement twice to ensure consistency
- Take the average of your measurements for the most accurate size
It’s common to have different sizes on different fingers. Most people find their index and middle fingers are slightly wider. This is why quality press-on nail kits include multiple sizes. Do not try to force one size to fit all fingers; using the correct size for each digit ensures a professional look.

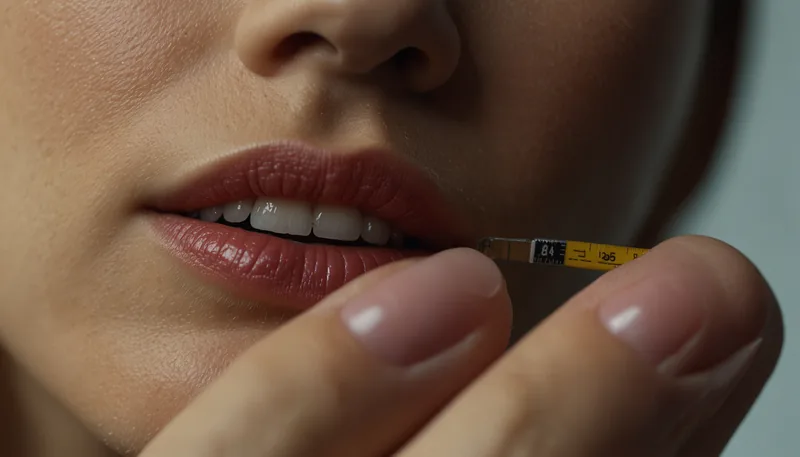
How to Measure Nail Length Properly
Measuring nail length determines how far your nails extend beyond your fingertips. You measure this from the tip of your finger to the end of your nail when measured vertically. Length is more flexible than width, as press-on nails can be filed shorter, but measuring first helps you choose the right starting length.
Place your hand flat on a white surface with palm down and fingers extended. Using a ruler positioned vertically, measure from the tip of your finger (where the fingertip ends and the free edge begins) to the end of your nail. Measure straight up and down, not at an angle. Most people prefer nails between 2-4mm past the fingertip, though personal taste varies.
- Measure from fingertip to nail end on all ten fingers
- Record each measurement, as length preferences may vary between hands
- Consider your lifestyle when choosing length (short for active lifestyles, longer for aesthetic choices)
- Remember that press-on nails can be shortened but not lengthened
- Factor in the current state of your natural nails when deciding on length
If you’re unsure about length, it’s safer to start with medium-length press-on nails. You can always file them shorter if needed, and they’re easier to manage while you’re getting used to wearing press-ons. Longer nails may require additional adjustment if you’re new to artificial nails.
Understanding Nail Bed Dimensions
Your nail bed is the skin beneath your nail. Understanding its dimensions helps you select press-on nails that cover it entirely. The nail bed extends from your cuticle (the base of your nail) to where your nail naturally separates from your fingertip. This area must be fully covered by your press-on nail for a polished, professional appearance.
To measure your nail bed length, position your ruler from your cuticle line (where your nail meets your skin) to the point where the white free edge naturally begins. This measurement differs from your nail length measurement, as it focuses on the living nail area rather than the extended portion. Press-on nails should be sized to cover this entire area.
- The nail bed is wider at the base and narrows toward the tip in most people
- Oval and almond-shaped nails follow the natural contour of your nail bed more closely
- Wide nail beds require wider press-on nails to avoid gaps at the sides
- Your nail bed width is consistent; only the shape varies by design
- Always ensure that the press-on nail extends from your cuticle to at least your fingertip
Pay special attention to the base of your nail bed. Some people have wide bases that narrow significantly toward the tip, while others have consistent width throughout. This affects which nail shape works best. Round or square shapes fit better for consistently-wide nail beds, while oval or almond shapes suit those that narrow at the tip.

Finding Your Perfect Press-On Nail Size
After taking your measurements, the next step is matching them to press-on nail sizing. Most press-on nail kits come with a sizing chart or sizing wheel. These usually range from size 0 (extra small) to size 10 (extra large), with most falling into sizes 4-8. Use your width measurement as your primary sizing reference.
If you’re purchasing individual press-on nails online, look for detailed product information that lists dimensions in millimeters. Compare these directly to your measurements. Many quality brands provide exact sizing specifications for each size in their product descriptions. Spend time finding the right fit rather than guessing.
- Compare your width measurements to the sizing chart provided with your nails
- When in doubt between sizes, choose the smaller size (you can file nails larger but not smaller)
- Test fit a few nails from the kit before committing to full application
- Mark the sizes that fit each finger on your sizing chart for future reference
- Save your measurements for next time to speed up the selection process
- Remember different brands may size slightly differently; always reference their specific chart
Visiting a beauty supply store to try press-on nails in person before ordering online can be beneficial. Many stores allow you to test fit different sizes to understand what works for your fingers. This hands-on experience is especially helpful for those new to press-on nails. If you decide to shop online, check return policies to ensure you can exchange sizes if needed.
If you have small nail beds, look for brands that specialize in smaller sizes. Not all press-on nail kits cater to petite fingers, so specialized options make a significant difference. Similarly, if you have wider nail beds, seek brands that offer larger sizes or broader shapes for a perfect fit on all fingers.

Common Mistakes When Measuring Nails
Despite the best intentions, people often make mistakes when measuring their nails. Recognizing these common errors helps you avoid them and achieve accurate measurements on the first try. Most mistakes occur when people rush or use incorrect techniques.
- Measuring at an angle instead of straight on creates false readings
- Not measuring at the widest point of the nail
- Measuring dirty or wet nails changes the apparent size
- Measuring already-filed nails instead of the natural shape first
- Assuming all ten fingers are the same size, which they rarely are
- Using a soft measuring tape that gives inaccurate width readings
- Only measuring once, instead of verifying measurements for accuracy
- Measuring in poor lighting, making it hard to see exact edges
Another common mistake is measuring old press-on nails to determine size instead of your natural nail. Your actual nail size matters, not the size of previous press-ons. If your previous nails did not fit well, they are a poor reference. Always measure your bare, natural nails for the best results.
Don’t assume that just because your nails looked good last time, you need the same size now. Your nails may have grown, or you may have filed them differently. Always take new measurements for each application to ensure the best fit. This only takes a few minutes and prevents fitting issues.

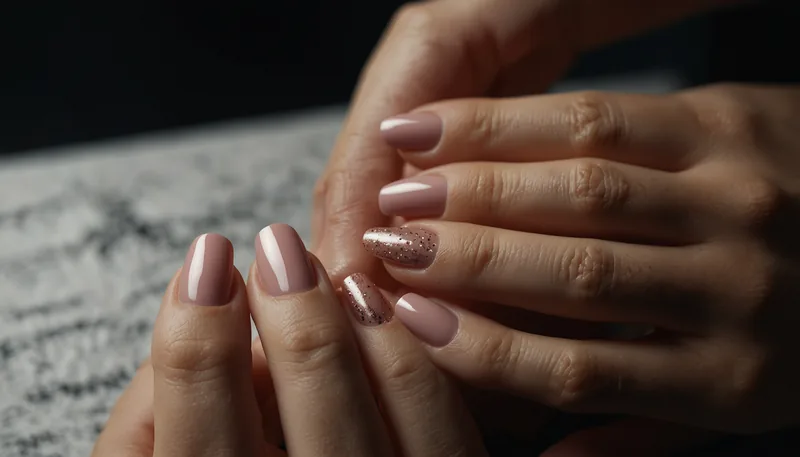
Sizing Tips for Different Nail Shapes
Different nail shapes require different measurement considerations. The shape impacts how the nail fits on your nail bed and how the edges align with your natural nail. Understanding these differences helps you choose the best shape and size combo for your fingers.
Square Nails
Square nails should match your nail bed width perfectly. If your nails are particularly wide at the base, ensure the square width accommodates this. Square nails leave no room for error in sizing, making accurate measurements crucial. Check our guide on short nails square simple ideas for styling inspiration with properly fitted square nails.
Round Nails
Round nails work well for people with wider nail beds since the rounded edges provide some flexibility. They are more forgiving than square nails if your measurements are slightly off. However, they should still cover your entire nail bed without gaps.
Oval Nails
Oval shapes suit most people and are versatile across different nail bed widths. They narrow gradually toward the tip, making them suitable for nail beds that are wide at the base. Oval nails offer a balanced, elegant look that flatters most finger shapes.
Almond Nails
Almond nails are forgiving regarding sizing due to their tapered shape. They work well for people with varying nail bed widths or narrow finger shapes. However, ensure they cover your complete nail bed without excessive overhang at the sides.
Explore acrylic nails ideas for 2026 to see how different shapes look when properly sized and styled. This visual reference helps you understand how shape and sizing work together for the best results.

How to Adjust Press-On Nails After Measuring
Sometimes even with perfect measurements, you may need minor adjustments. Knowing how to properly adjust press-on nails ensures a comfortable fit without damaging them. Filing and shaping press-on nails is normal; they are designed to be customizable.
- Use a nail file to gently shorten the length if required (file from corner to the center)
- File the sides to adjust width slightly (only file if truly necessary; start conservatively)
- Shape the edges with a fine-grit file for a polished look
- Regularly test fit while adjusting to avoid over-filing
- Never file the underside of the nail as this affects how it sits on your nail bed
- Use a nail buffer to smooth any rough edges after filing
- Make adjustments before applying adhesive for best results
For beginners, best short glue-on nails for beginners often come pre-sized to accommodate common finger sizes with minimal adjustments needed. Starting with beginner-friendly options builds confidence before you attempt more dramatic resizing.
If you are filing the width, remember that you can only remove material; you cannot add it back. Always start small and test fit frequently. Many people make the mistake of filing too much, ending up with nails that are too small. It is better to need more filing than to damage nails by over-filing.
Maintaining Your Nails Between Applications
Proper care of your natural nails between press-on applications is essential to maintain their health and size. Changes to your natural nails can affect how press-ons fit in future applications. Establishing a good nail care routine makes the measuring and fitting process smoother each time.
- Keep natural nails clean and dry to prevent premature lifting and nail bed issues
- Moisturize cuticles regularly with cuticle oil or nail serum
- Avoid harsh chemicals that can weaken nails or alter their shape
- Give your nails a break between press-on applications (at least 24-48 hours is recommended)
- File natural nails to maintain consistent width and length
- Use nail strengthening treatments if nails feel weak or brittle
- Monitor your nails for any changes in size or shape that might affect future sizing
Healthy natural nails provide the best foundation for press-on nail applications. Learn more about short nail care tips to keep your natural nails in optimal condition between applications. Proper care prevents peeling, breaking, and other issues that can affect how well press-on nails adhere and fit.
Consider taking measurements regularly even if you are not applying press-ons. Your nails may change slightly over time due to age, health changes, or lifestyle factors. Keeping updated measurements ensures you can quickly find the right size whenever you decide to apply new press-on nails. This proactive approach eliminates measuring guesswork in the future.
Bonus Tips for Press-On Nail Success
Beyond measuring and sizing, other factors contribute to successful press-on nail applications. These bonus tips help maximize the lifespan of your press-on nails, ensuring they look salon-quality from the day of application until removal.
- Always start with clean, dry, oil-free nails (wash and dry thoroughly before application)
- Use a nail dehydrator or rubbing alcohol before applying adhesive tabs or glue
- Apply pressure for 10-15 seconds when pressing the nail down to ensure full adhesion
- Keep nails away from water for the first 24 hours post-application
- Avoid using nails as tools, which can cause premature popping off
- Keep nail edges clean and moisturized to prevent peeling and lifting
- Consider gel tabs instead of glue for easier, gentler removal if you have sensitive nails
Invest in quality press-on nails from reputable brands. Budget options might seem appealing, but they often fit poorly, break easily, and look less natural. Quality nails are designed with proper sizing in mind and use durable materials that endure daily wear. Check out best short press-on nail kits for beginners for recommendations on reliable brands that prioritize proper sizing and quality construction.
Remember that every person’s nails are unique. What works for your friend might not work for you, even if your finger sizes are similar. Trust your own measurements and personal preferences. The goal is to find press-on nails that make you feel confident, comfortable, and beautiful. Take your time to find your perfect size, and you will enjoy wearing press-on nails that look and feel custom-made just for you.
For everyday wear that does not require a long length, explore options for best short press-on nails for everyday wear. Short press-ons are easier to maintain, require less adjustment, and feel more natural during daily activities. They are also perfect for those still getting used to artificial nails. Once you master measuring and sizing with short nails, you can experiment with longer styles if desired.