
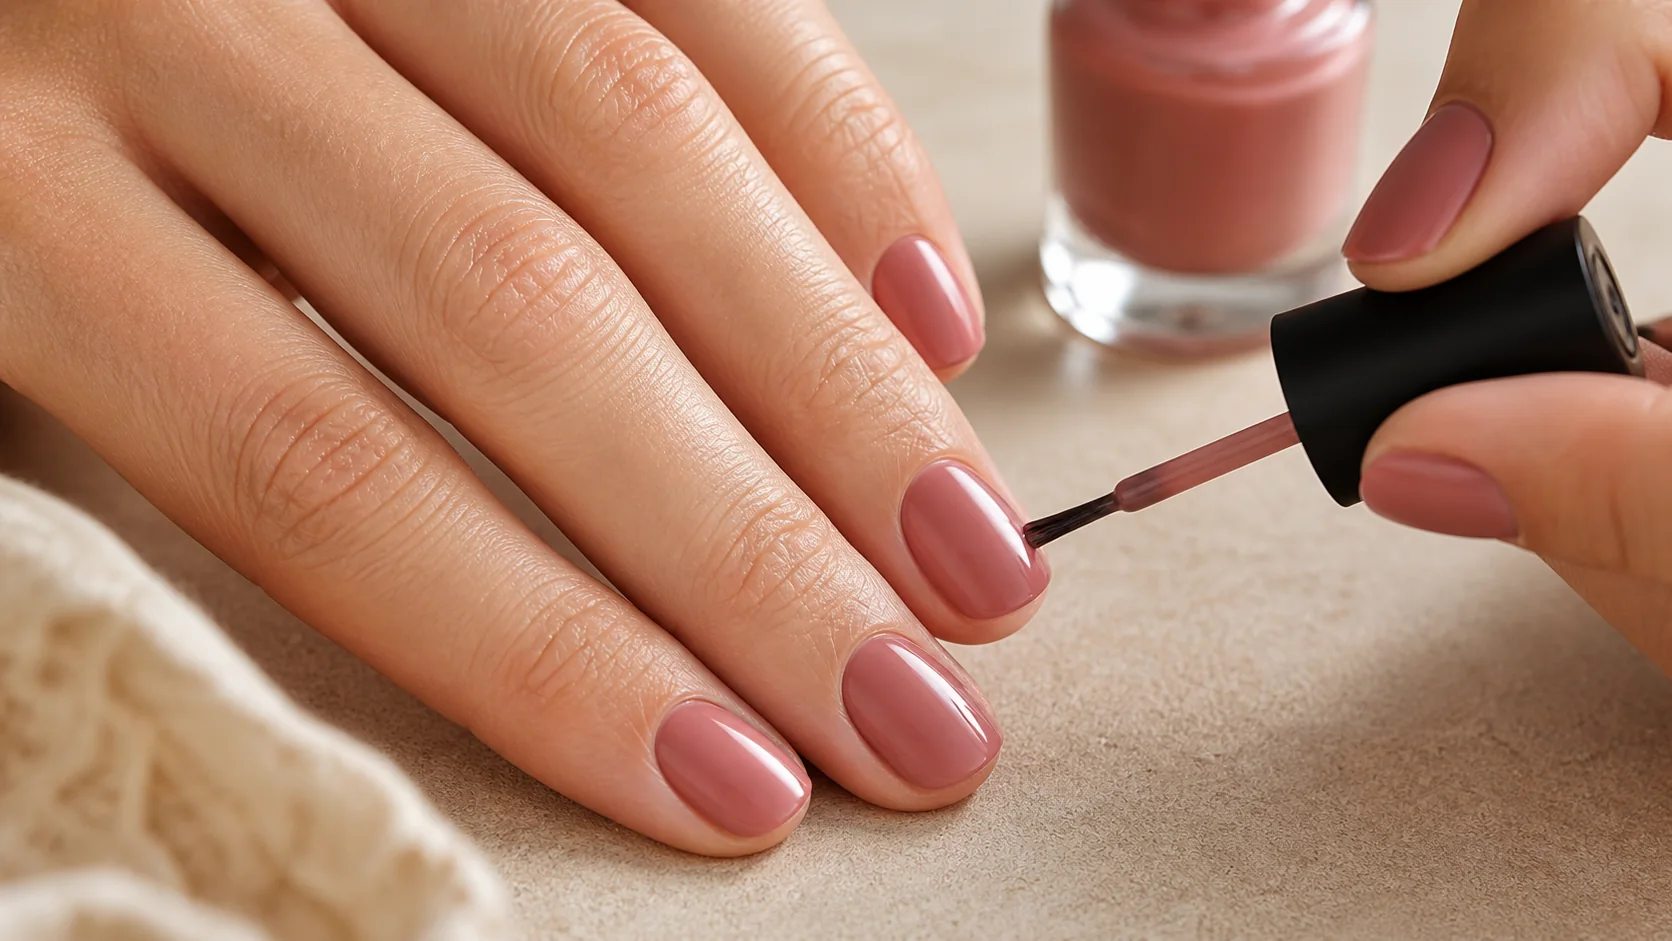
If fresh color starts disappearing from the ends of your nails after a day or two, the problem is usually a combination of prep, application, and daily wear. Learning how to stop nail polish from chipping at the tips means creating a clean bond, keeping every layer thin, sealing the free edge, and giving the manicure time to harden.
You do not need salon equipment or unusually thick polish. Regular nail lacquer can wear well when each step supports the next one. This guide explains the full process, including what to change when only certain nails keep chipping.
Tip Wear or a True Chip?
A narrow, even line of visible nail across several tips is usually tip wear. Daily friction gradually rubs color from the edge. A chip is a distinct piece of polish that breaks away, often from one corner or an impact point. Peeling occurs when a larger sheet lifts from the nail.
The pattern gives you a useful clue:
- Even wear on every tip: friction or an unsealed free edge is likely.
- Chips at one corner: the nail shape may have a snag, or that finger may receive repeated impact.
- Whole pieces peeling: oil, water, lotion, or skin at the nail margin may have interrupted adhesion.
- Dents followed by chips: the lower layers probably had not dried enough.
- Cracks through thick color: the manicure may contain coats that are too heavy or incompatible.
Why Polish Chips First at the Tips
The free edge is the part of the nail that extends beyond the fingertip. It meets keyboards, zippers, cans, hair, cleaning tools, and countless small impacts. It also flexes when nails absorb water. If the color stops on the top surface instead of wrapping lightly over the edge, that exposed boundary can become the first place to lift.
Long nails create more leverage, but short nails can chip too. The goal is not to build a thick shell. It is to create a smooth, flexible stack of compatible layers that reaches the edge without flooding the skin.
Prepare the Nail Plate for Better Adhesion
1. Shape the tips and remove snags
File each nail before painting. Use light strokes and smooth rough corners that can catch on fabric. A shape with softly rounded corners often handles everyday impact better than sharp, fragile points. Do not saw aggressively into thin or peeling layers.
2. Keep lotion and oil away from the nail plate
Moisturizer is excellent for the surrounding skin, but a film on the nail can interfere with polish adhesion. If you use cuticle oil during prep, wash or wipe the nail plate clean afterward. Moisturize again when the manicure is dry.
3. Gently clear the polish area
Remove old lacquer completely. Gently move back softened cuticle residue if needed, but do not cut living skin or scrape the nail. Polish that overlaps skin tends to lift when the skin moves, and that lifted edge can spread.
4. Finish with a clean, dry surface
Wipe the nail plate with nail polish remover or isopropyl alcohol on a lint-free pad to remove dust and surface oil. Avoid soaking nails in water immediately before painting. Nails can absorb water, expand slightly, and then contract as they dry beneath the polish.
Use a Base Coat That Fits Your Nails
A base coat is designed to help color adhere and can reduce staining. Apply one thin layer from near the cuticle to the tip. Thick base coat adds bulk without guaranteeing a stronger bond.
If your nails are flexible, a very rigid manicure can crack when the nail bends. If they are ridged, a ridge-filling base may create a smoother surface, but heavy layers can take longer to dry. Follow the directions for the product system you choose. Peel-off base coats are made for easy removal, so they are not the best option when maximum wear is the goal.
Apply Color in Thin, Controlled Coats
Roll the closed polish bottle between your palms instead of shaking it vigorously, which can introduce bubbles. Wipe excess polish from one side of the brush. Place the brush a small distance from the cuticle, gently push toward the base without touching skin, then pull toward the tip.
Use two thin coats rather than one thick coat. A sheer shade may need a third thin layer, but stop once the color is even. Thick polish can feel dry on top while remaining soft underneath, making it easier to dent, shift, and chip.
Give each coat a few minutes to settle. The exact time varies with formula, room conditions, and layer thickness. If the brush drags or creates bald patches, the previous layer may need more time.
How to Cap the Free Edge Without Creating a Bulky Tip
Capping means brushing a very small amount of product across the front edge of the nail. It connects the layer on top to the free edge instead of leaving a sharp ending line.
- Remove most product from the brush.
- Turn your hand so you can see the thin front edge.
- Touch the brush lightly to one side of the edge.
- Swipe across to the other side once.
- Paint the surface immediately afterward to smooth any small ridge.
Cap the base coat, at least one color coat, and the top coat. The swipe should be almost translucent. A thick bead under the tip can look untidy and may peel.
How to cap very short nails
If there is almost no free edge, gently pull the fingertip skin away from the nail and use the narrow side of the brush. A tiny amount on the skin is not a disaster. Clean it promptly with a small angled brush or cotton swab lightly dampened with remover. Do not scrape wet polish from the nail itself.
Seal the Surface With Top Coat
Top coat adds a protective surface and smooths the color layers. Float a thin, even coat over the nail with light pressure so the brush does not drag through color. Cover the entire painted area and cap the free edge.
Check that top coat reaches the side edges of the color without touching skin. Color left outside the top coat boundary can wear faster, while top coat on skin can lift and pull the manicure with it.
Some formulas work best as a matched system. If persistent cracking appears even with careful technique, try a base, color, and top coat from the same line before assuming your nails are the problem.
Protect the First Hours After Painting
Regular polish may become touch-dry before it is fully hardened. For the first few hours, avoid hot water, long showers, tight shoes, bed-making, and tasks that press the nail surface. Quick-dry drops or a quick-dry top coat can help the surface set, but they do not make thick lower layers instantly hard.
Use your finger pads instead of your nail tips when opening drawers, fastening buttons, or typing. Never use nails as tools to scrape labels, lift tabs, or pry lids.
Daily Habits That Reduce Tip Chipping
- Wear waterproof gloves for dishes and household cleaning.
- Keep nails out of prolonged hot water when possible.
- Use tools, not nail tips, to open packaging and cans.
- Apply cuticle oil around the nail and beneath the free edge once the manicure is fully dry.
- File a new snag promptly before it catches and enlarges.
- Refresh the top coat after a few days if its directions allow.
For more routines covering polish preparation and nail maintenance, visit the Glow Finds Daily nail guides.
Fix the Cause Based on Where Chipping Happens
Thumb and index finger chips
These fingers often do the most work. Notice whether you use them to open clasps, pick at labels, or press hard keys. Keep their corners smooth, cap them carefully, and change the task rather than adding extra-thick polish.
Chipping along one side
Check for polish on the sidewall skin or a tiny rough edge in the nail. Leave a hairline margin between polish and skin, then make sure top coat covers the color right up to that margin.
Color retreats from every tip
This may be ordinary tip wear or top coat shrinkage. Cap with a minimal amount, avoid dragging a nearly dry brush, and use compatible layers. Do not repeatedly pile top coat under the tip.
Polish peels in large sheets
Review the prep. Lotion, oil, water, dust, and invisible cuticle residue are common causes. Also confirm that you did not use a peel-off base coat. Remove peeling polish rather than pulling it, since peeling can take surface nail layers with it.
How to Repair One Small Chip
A small chip does not always require a full manicure redo.
- Wash and completely dry the nail.
- Very gently smooth a raised polish edge with a fine file or buffer. Do not thin the natural nail.
- Place a small amount of matching color only in the missing area.
- After it settles, add one thin color coat over the nail if the patch is visible.
- Finish with top coat over the full nail and cap the tip.
If multiple nails are peeling, removal and a fresh application will usually look smoother than repeated patches.
Common Mistakes to Avoid
- Painting immediately after a bath, shower, or hand soak
- Skipping base coat or using a peel-off base for long wear
- Applying one heavy color coat
- Letting color or top coat flood the skin
- Capping with a thick blob instead of a light swipe
- Doing wet chores before the manicure hardens
- Peeling off chips instead of removing polish properly
- Buffing the natural nail aggressively for every manicure
Frequently Asked Questions
Should every layer be wrapped over the tip?
For longer wear, cap the base coat, at least one color coat, and top coat. Keep every swipe extremely thin. If wrapping every color layer creates bulk, cap one color layer instead of all of them.
How long should I wait between coats?
There is no universal number because formulas and coat thickness vary. Allow a few minutes and wait until the surface has settled. Thin coats are more important than a very long fixed timer.
Can I apply top coat the next day?
Yes, if the polish is clean and intact. A fresh thin layer can restore shine and protection. Cap the edge again, and follow the top coat manufacturer’s directions.
Why does only one nail keep chipping?
That nail may receive more impact, have a rough corner, flex more, or carry leftover oil or skin at the edge. Compare how you use that finger and inspect its shape before changing the whole routine.
Does nail oil make polish chip?
Oil on the bare nail before painting can reduce adhesion. Oil used around the cuticles after the manicure has fully dried is different and can support flexible, comfortable skin. Keep the timing clear.
The Bottom Line
To stop nail polish from chipping at the tips, begin with smooth, clean, dry nails. Apply one thin base coat, two thin color coats, and an even top coat. Cap the free edge with a nearly dry brush, keep polish off the skin, and protect the manicure from water and impact while it hardens. When chips still appear, use their location and shape to identify the step that needs adjusting.