When you’ve just finished painting your nails, the work isn’t entirely done. Learning how to clean nails after painting is essential for achieving that polished, professional look you’ve been working toward. Whether you’re a DIY nail enthusiast or someone who occasionally treats themselves to a manicure at home, proper post-painting cleanup can make the difference between an amateur appearance and a salon-quality finish.
Many people underestimate the importance of cleaning nails after painting. The application process inevitably leaves excess polish on the skin surrounding your nails, smudges on the nail surface, and sometimes uneven edges. This comprehensive guide will walk you through everything you need to know about cleaning your nails after painting, from the tools you’ll need to professional techniques that will transform your nail care routine.
Why Cleaning Nails After Painting Matters
Cleaning your nails after painting serves multiple important purposes that go beyond mere aesthetics. When you understand why this step matters, you’ll be more motivated to perfect your technique and make it a consistent part of your nail care routine.
First and foremost, excess nail polish on your skin can look unprofessional and diminishes the overall appearance of your manicure. A manicure is only as good as its presentation, and polish smudged on your cuticles or surrounding skin immediately signals amateur work. Professional nail technicians spend considerable time cleaning up after polish application, and this is one of the key differences between a DIY manicure and a professional one.
Beyond aesthetics, cleaning nails after painting is crucial for maintaining healthy skin around your nails. Nail polish contains chemicals that can be drying and potentially irritating to the delicate skin surrounding your nail beds. Leaving excess polish on your skin for extended periods can cause dryness, irritation, and in some cases, allergic reactions. By promptly cleaning away excess polish, you minimize contact between these chemicals and your skin.
Additionally, proper cleaning helps extend the life of your manicure. When you carefully remove excess polish, you’re also evening out the polish edges, which prevents chipping and peeling. A clean manicure with precise lines is less likely to experience premature breakdown along the edges.
Finally, the cleaning process allows you to inspect your work and make any necessary touch-ups before the polish fully dries. This is your opportunity to fix any imperfections, smooth out uneven lines, and ensure your nails look absolutely perfect.
Essential Tools You’ll Need

Having the right tools on hand is fundamental to how to clean nails after painting effectively. You don’t need an extensive collection, but these items will make the process significantly easier and more professional:
Cotton Pads or Makeup Remover Pads: These are your primary tool for cleaning excess polish. Choose high-quality cotton pads that won’t leave fibers behind. Makeup remover pads work exceptionally well because they’re slightly thicker and more absorbent than regular cotton balls.
Acetone or Nail Polish Remover: Pure acetone is the most effective for removing excess wet polish, though non-acetone removers work as well. Keep a small bottle or container specifically for this cleanup task. Some professionals prefer using 70% isopropyl alcohol as a gentler alternative that still effectively removes fresh polish.
Fine-Tipped Brush or Cleanup Brush: A precision brush designed specifically for nail cleanup is invaluable. These brushes are usually thin and angled, allowing you to navigate the tight spaces between your nail edge and skin. Many nail art supplies stores sell dedicated cleanup brushes that are worth the small investment.
Nail File: A fine-grit nail file helps you clean up any rough edges and shape your nails precisely after polish application. Look for a glass or crystal file rather than metal, as these are gentler on nails and create a smoother edge.
Cuticle Pusher: A wooden or metal cuticle pusher helps you gently push back cuticles and clean the base of your nails without damaging the nail bed or surrounding skin.
Small Containers: Keep small containers or dishes for holding your cleanup solution. Metal or ceramic containers work better than plastic, which can potentially interact with acetone.
Nail Dehydrator or Rubbing Alcohol: These help prepare your nails before polish application and can be used after cleaning to ensure your nails are completely dry and ready for topcoat application.
Lint-Free Wipes: Regular cotton pads can leave fibers behind. Lint-free wipes or specialized nail wipes are worth having on hand for a truly professional finish.
Step-by-Step Guide to Cleaning Nails After Painting
Now that you understand why this step matters and have the right tools, let’s walk through the exact process of how to clean nails after painting like a professional.
Step 1: Wait for the Appropriate Time
Timing is crucial when learning how to clean nails after painting. You want to clean excess polish while it’s still wet or slightly tacky, but not so wet that you smear it everywhere. Typically, you should wait about 2-3 minutes after applying your final topcoat before beginning the cleanup process. This gives the polish enough time to set slightly while remaining workable.
Step 2: Prepare Your Cleanup Solution
Pour a small amount of acetone or nail polish remover into your container. You don’t need much—just enough to dampen your cleanup brush or cotton pad. Some professionals prefer keeping a small jar with a soaked brush ready for immediate use.
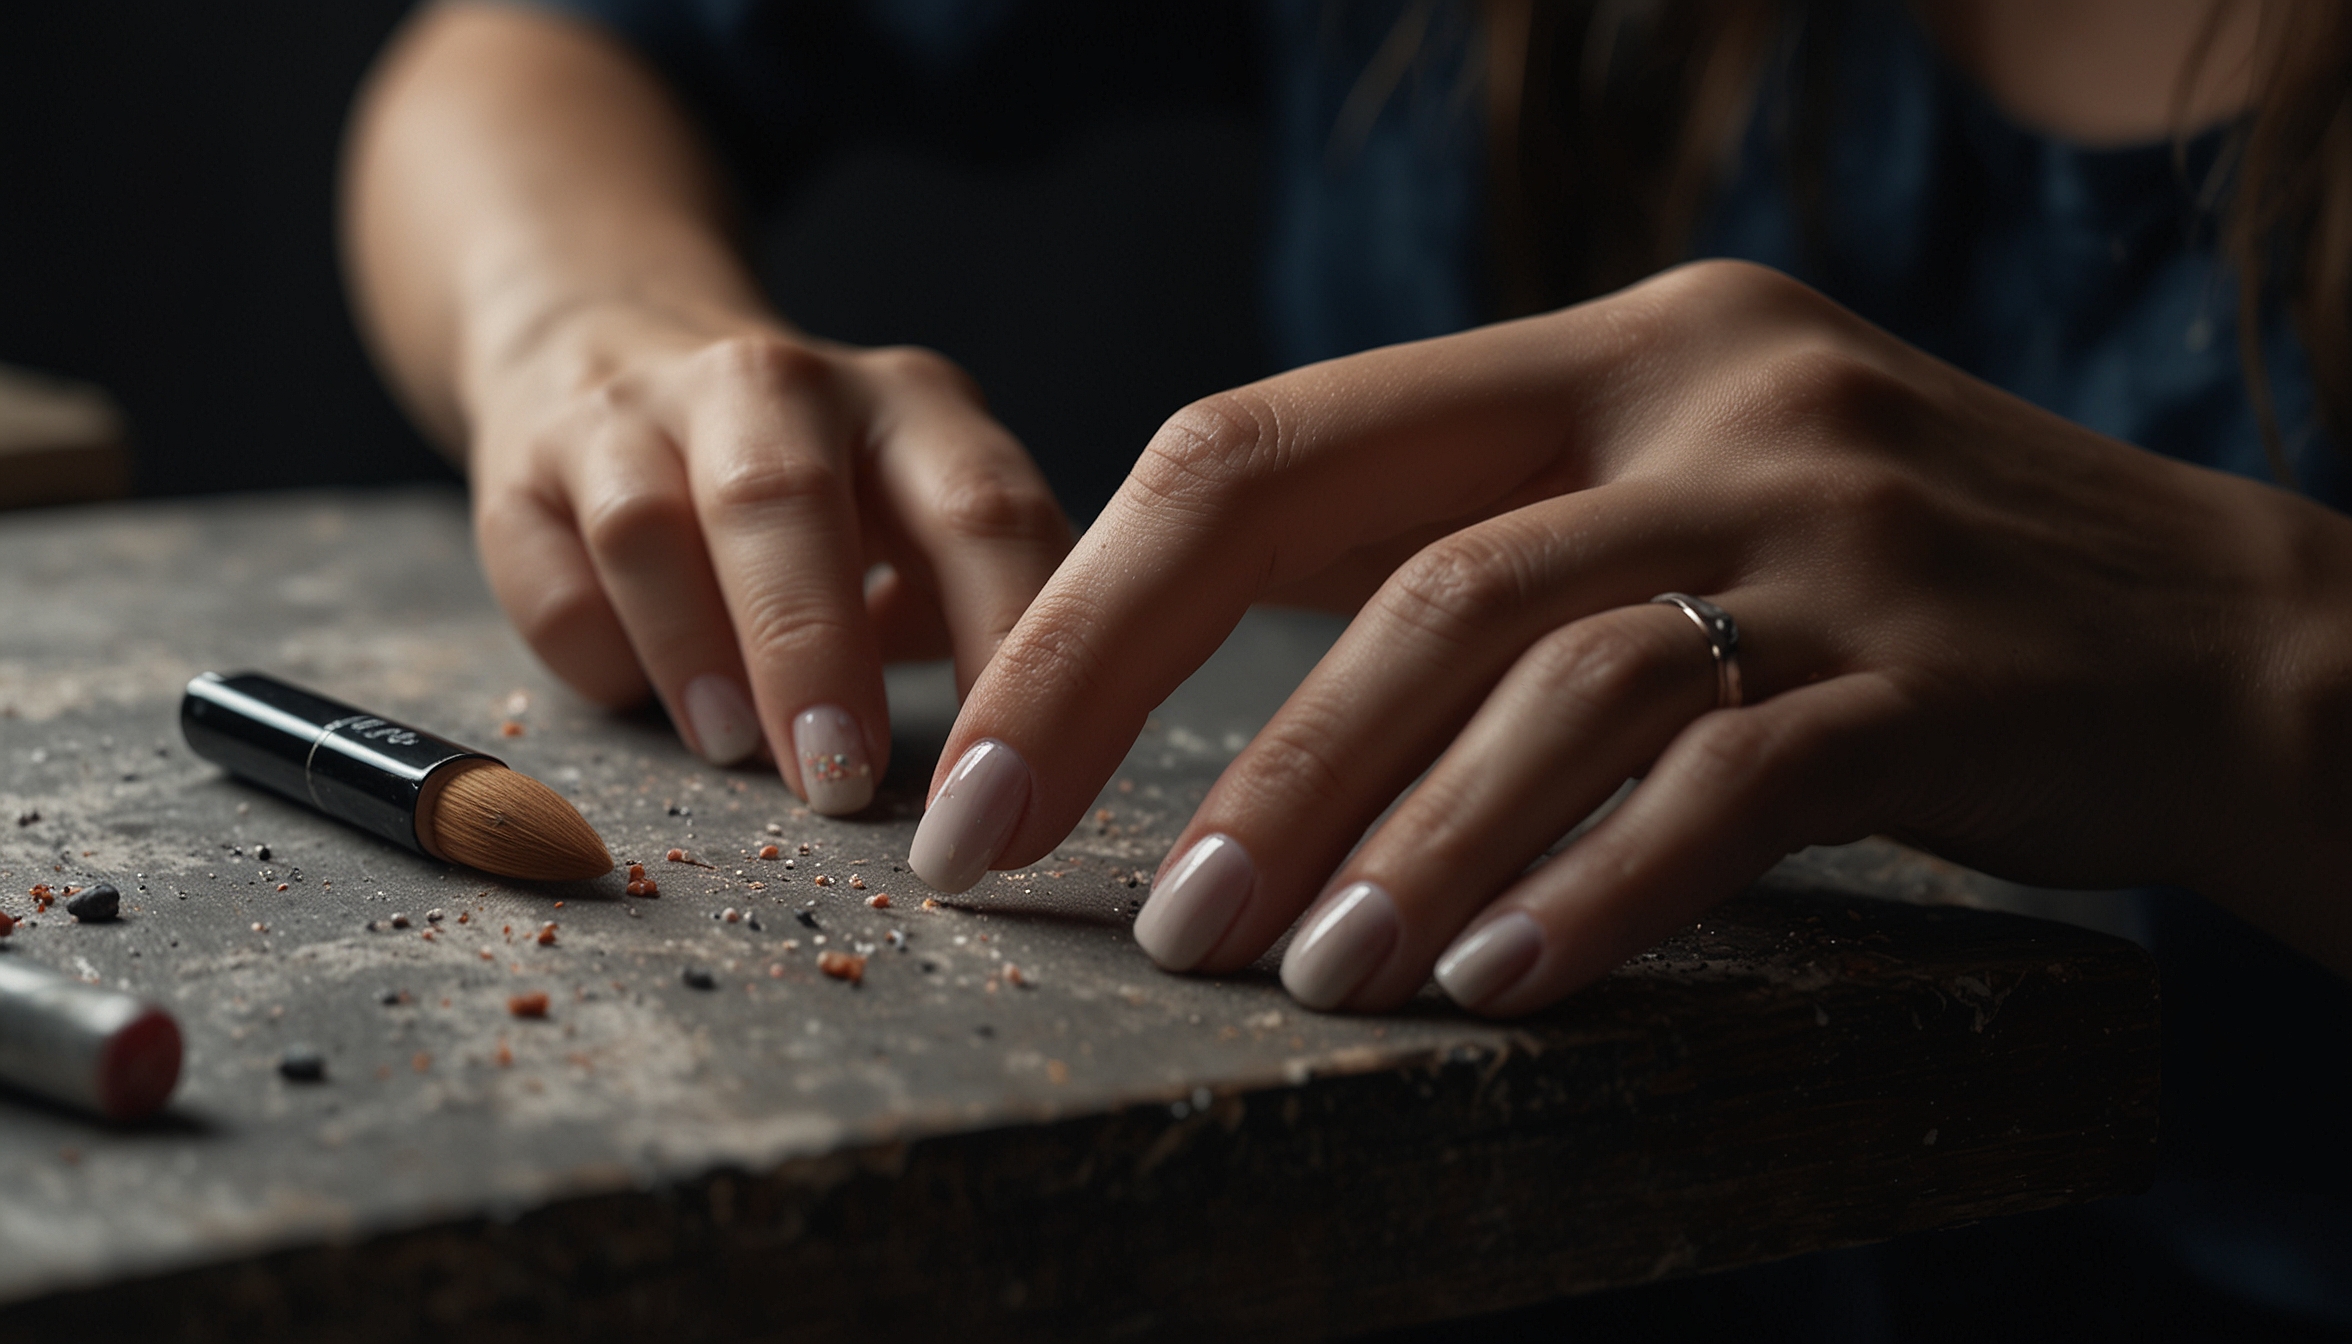
Step 3: Start with the Brush Cleanup
If you’re using a cleanup brush, dip it into your acetone solution and carefully trace around the edge of each nail. Start at the cuticle area and work your way down the sides of the nail. Use gentle, precise movements rather than aggressive scrubbing. The brush should remove excess polish from the skin without disturbing the polish on your nail.
Step 4: Use Cotton Pads for Detailed Work
For the areas around your nails that require more detailed attention, wrap a cotton pad around your fingertip and use it to carefully clean the surrounding skin. Work methodically from nail to nail, using fresh cotton pad sections as needed. This method gives you more control and allows you to see exactly where you’re cleaning.
Step 5: Address the Cuticle Area
The cuticle area often accumulates excess polish because this is where application typically begins. Use your dampened brush or a small cotton swab to carefully clean around the entire cuticle line. Be gentle here, as the skin is more delicate and sensitive.
Step 6: Clean the Nail Edges and Sides
Work down the sides of each nail, ensuring all excess polish is removed from the skin. Pay special attention to the nail grooves and the areas where the nail meets the skin, as polish often settles in these crevices.
Step 7: Make Final Inspections
Once you’ve cleaned all the excess polish, examine your nails closely. Look for any missed spots, uneven edges, or areas where the polish line could be more precise. Make any necessary touch-ups at this stage before the polish fully dries.
Step 8: Dry Your Nails Completely
Use a lint-free wipe or clean, dry cotton pad to ensure your nails are completely dry. Any residual acetone or cleaning solution should be completely removed before you use your hands for anything else.
Removing Excess Polish from Cuticles and Skin
The cuticle area and surrounding skin are particularly challenging when learning how to clean nails after painting. This region requires special attention and a delicate touch to avoid damaging the sensitive skin while effectively removing all polish residue.
The Challenge of Cuticle Cleanup
The cuticle area is naturally where polish accumulates most during application. Your brush naturally carries polish toward the cuticle as you apply it, and it’s easy to inadvertently apply polish to the skin. Additionally, the skin in this area is thinner and more sensitive than other parts of your hand, making it more susceptible to irritation from cleaning solutions.
Techniques for Precise Cuticle Cleaning
One highly effective technique is the “push and clean” method. After allowing your polish to set slightly, use your cuticle pusher to gently push back your cuticles while simultaneously cleaning away any excess polish. This serves the dual purpose of cleaning and grooming your cuticles.
Another approach is to dampen a very fine-tipped brush and use it to trace the exact line between your nail and skin. Work in small sections, cleaning thoroughly before moving to the next nail. This methodical approach ensures you don’t miss any spots.
For particularly stubborn dried polish on your skin, you can create a small paste using baking soda and a tiny amount of water. Gently rubbing this paste on the affected area will gradually loosen dried polish without irritating your skin.
Protecting Your Skin During Cleanup
Always remember that acetone and other solvents are drying to skin. After cleaning, apply a nourishing cuticle oil or hand cream to replenish moisture. This is especially important if you frequently do your own nails.
Deep Cleaning Your Nails Post-Polish Application
While removing excess polish from skin is important, truly mastering how to clean nails after painting also involves deep cleaning the nail surface itself to ensure a flawless finish.
Inspecting the Nail Surface
Once you’ve removed the excess polish from surrounding skin, examine the actual nail surface under good lighting. Look for any dust particles, lint, or imperfections that may have settled on the wet polish. Natural light or a bright lamp works best for this inspection.
Removing Surface Imperfections
If you notice any lint or dust on the nail surface, use a very fine-tipped brush or even a single hair held between your fingers to gently lift it away. Do this carefully to avoid creating a divot in the wet polish.
For fingerprints or smudges that have already partially dried into the polish, you may need to very gently buff them out using a fine-grit buffer. This technique requires a light touch to avoid creating visible marks.
Evening Out Polish Distribution
Sometimes polish isn’t distributed evenly across the nail surface, with some areas appearing thicker than others. Use your cleanup brush with just a touch of acetone to gently blend these areas and create an even finish. This should be done while the polish is still slightly wet and workable.
Addressing Bald Spots or Thin Areas
If you notice areas where the polish appears too thin or translucent, now is the time to apply a touch-up. Use your polish brush to add a tiny amount of polish to these areas. It’s better to do this while the previous layer is still slightly wet, as the new polish will blend more seamlessly.
Common Mistakes to Avoid

Understanding common pitfalls in how to clean nails after painting will help you avoid frustration and achieve better results consistently.
Using Too Much Acetone
One of the biggest mistakes is saturating your cleaning brush or pad with too much acetone. This causes the solution to spread everywhere, potentially smearing your carefully applied polish. Use just enough to slightly dampen your tool—you should see a tiny amount of solution, not dripping acetone.
Cleaning Too Aggressively
Scrubbing forcefully when removing excess polish can cause several problems: it can create streaks in your polish, damage the polish line you’ve created, or even remove polish from the nail itself. Cleaning should always be gentle and deliberate.
Waiting Too Long
If you wait too long after polish application, the excess polish will have hardened and become significantly more difficult to remove cleanly. You might end up having to use more aggressive techniques or stronger solvents, which can damage your work. Aim to clean within 2-5 minutes of applying your topcoat.
Not Using Proper Tools
Attempting to clean excess polish with random household items like tissues, paper towels, or regular cotton balls often leads to poor results. Tissues leave fibers behind, paper towels can be too rough, and regular cotton balls fall apart easily. Invest in proper nail care tools for best results.
Ignoring Cuticle Care During Cleanup
Some people focus only on cleaning the sides of nails and neglect the crucial cuticle area. This leaves the manicure looking incomplete and unprofessional. Dedicate time to thoroughly cleaning around the entire cuticle line.
Rushing the Process
Trying to clean all your nails quickly usually results in missed spots and uneven work. Instead, work nail by nail, taking time to ensure each one is completely clean and perfect before moving to the next.
Using the Wrong Type of Nail Polish Remover
Not all nail polish removers work equally well for cleanup. Acetone-based removers work fastest, but some people prefer gentler alternatives. Experiment to find what works best for your skin sensitivity, but ensure whatever you use actually dissolves your specific polish formula.
Maintaining Clean, Healthy Nails Between Manicures
Knowing how to clean nails after painting is just one part of comprehensive nail care. Maintaining your nails between manicures is equally important for ensuring your polish stays looking fresh and your nails remain healthy.
Daily Nail Care Routine
Develop a simple daily routine to keep your nails in top condition. This should include washing your hands gently, moisturizing your cuticles with cuticle oil, and avoiding harsh chemicals when possible. Wear gloves when doing dishes or cleaning to protect your manicure from prolonged water exposure and harsh detergents.
Proper Hydration
Keep your nails and surrounding skin hydrated by applying hand cream and cuticle oil daily. Well-hydrated nails are less likely to chip or break, and your manicure will look better longer. Learn more about short nail care tips to keep your nails healthy and clean, which includes maintaining proper hydration.
Gentle Handling
Treat your freshly painted nails gently for the first 24 hours. Avoid using your nails as tools, and be mindful when picking up objects. While modern nail polishes dry relatively quickly, the cure time (when polish reaches full hardness) takes longer.
Protective Measures
If you have short nails that keep breaking, be especially careful to protect your manicure. Wear protective gloves during activities that might damage your nails, and avoid exposing your nails to extreme temperature changes.
Touch-Up Cleaning
Even with proper care, your nails might need minor cleaning throughout the week. Keep a small container of acetone and cotton pads in your bathroom or desk drawer for quick touch-ups if you notice any chipped areas or accumulated dirt.
Professional Tips from Nail Experts

Professional nail technicians have perfected the art of how to clean nails after painting. Here are some insider tips that can elevate your home manicure game to professional standards.
The Precision Angle Technique
Professional nail artists hold their cleanup brush at a 45-degree angle to the nail edge rather than straight on. This angle allows the brush bristles to slide along the edge of the nail, removing excess polish without disturbing the polish on the nail itself. Practice this angle until it becomes second nature.
Using Gel Base Coats for Easy Cleanup
Some professionals apply a thin layer of clear gel base coat to the skin surrounding where the nail will be painted. Once polish is applied, this gel base coat prevents the polish from adhering to skin, making cleanup nearly effortless. While this technique requires gel supplies, it’s incredibly effective.
The Sectioning Method
Instead of cleaning all nails at once, professional technicians often clean each nail section by section. They’ll apply polish to one nail and immediately clean it before moving to the next. This prevents the polish from drying and becoming difficult to work with while you’re still cleaning other nails.
Temperature Control
Working in a cool environment slows down polish drying time, giving you more time to clean. If your space is very warm, your polish will dry quickly, making cleanup more challenging. Conversely, if your space is too cold, your polish might not flow smoothly during application. Find a comfortable middle ground.
Using Specialty Cleanup Products
Professional-grade nail cleanup products are available that work better than standard acetone or remover. These products are specifically formulated to clean excess polish while being gentler on skin. Brands used in professional salons often offer these products for home use.
The Pre-Oil Technique
Some professionals apply cuticle oil around the nail bed before painting. The oil acts as a barrier, preventing polish from adhering to skin in the first place. While this technique takes practice to perfect, it can dramatically reduce cleanup time and effort.
Quick Cleanup Solutions for Busy People
Not everyone has time for a meticulous cleanup routine. If you’re constantly on the go, these quick cleanup methods will still give you professional-looking results.
The Cotton Swab Express Method
Keep a container of cotton swabs pre-soaked in acetone in your bathroom. When you’ve finished painting your nails, simply use these pre-soaked swabs to quickly clean around each nail. This takes minimal time and requires no additional preparation.
Nail Pen Solution
Specialized nail cleanup pens filled with acetone or remover are available. These work like felt-tip markers but dispense acetone, allowing for precise cleanup without needing brushes or cotton pads. They’re incredibly convenient for quick touch-ups.
The 10-Minute Rule
If you’re truly short on time, set a timer for 10 minutes and dedicate that time to cleanup. Even a quick cleaning is better than none, and 10 minutes is usually enough to remove the most visible excess polish and make your manicure look presentable.
Polish Remover Wipes
These disposable wipes come pre-saturated with polish remover and are incredibly convenient. While they’re slightly more expensive than pouring your own acetone, the time saved and convenience factor might be worth it for busy individuals.
Prevention Through Better Application
The best time-saving technique is preventing excess polish application in the first place. Practice keeping your brush within the nail boundaries as you apply polish. The less excess polish you apply, the less cleanup you’ll need to do.
When to Seek Professional Help

While mastering how to clean nails after painting is valuable, there are situations where professional help is the better choice.
Complex Nail Art Designs
If you’re attempting intricate nail art or complex designs, cleanup becomes significantly more challenging. Professional nail artists have the skill and precision tools to create these designs and clean them perfectly. For special occasions or elaborate designs, professional services are worth the investment.
When You Have Sensitive Skin
If you have particularly sensitive skin or are prone to contact dermatitis, professional salons can take extra precautions and use specialized, gentler products. They can also skip the cleanup entirely by using techniques that prevent excess polish on skin in the first place.
Gel Manicures and Advanced Techniques
Gel manicures require UV curing and specialized products that work differently than traditional polish. If you’re interested in gel manicures, trying to manage cleanup yourself can be problematic. Professional technicians have the proper supplies and expertise.
If You’re Struggling with Results
If you’ve practiced how to clean nails after painting and still aren’t achieving results you’re satisfied with, getting a professional manicure can help. Observing a professional working on your nails gives you insights into proper technique that you can apply to future DIY manicures.
Time Constraints
If you don’t have time for a proper manicure and cleanup routine, professional services eliminate the need to rush. A rushed manicure rarely looks as good as a properly executed one, whether DIY or professional.
When You Want to Experiment with New Products
If you’re considering short press-on nails for everyday wear or trying new polish formulas or colors, a professional can help you find what works best before you invest in supplies for home use.
Specialized Cleaning for Different Nail Types
Different nail types and styles require slightly different cleanup approaches. Understanding these variations will help you achieve the best results for your specific situation.
Natural Nails
For natural nails, cleanup is straightforward and follows the methods we’ve discussed. Natural nails are more forgiving, and standard cleanup techniques work well. If you’re looking to maintain healthy natural nails between manicures, explore cute short nails ideas for 2026 that showcase how beautiful natural nails can be.
Acrylic Nails
Acrylic nails require extra care during cleanup because the acrylic material is more delicate when freshly applied. Use gentler cleaning motions, and be careful not to disrupt the acrylic application. Acetone can soften acrylic, so use it sparingly. For acrylic designs like short square acrylic nails with summer flowers, cleanup should be especially gentle to preserve detailed artwork.
Gel Nails
Gel nails are cured under UV light, so they’re already hardened before cleanup begins. This actually makes cleanup easier in some ways, but you need to be careful not to scratch the cured gel finish. Use soft tools and gentle motions.
Press-On Nails
Press-on nails come pre-painted, so cleanup involves only removing any adhesive residue from your natural nails and skin. For clear short press-on nails, proper cleanup of adhesive is important for comfort and appearance.
Frequently Asked Questions About Nail Cleaning After Painting
How long should I wait after painting before cleaning?
Ideally, wait 2-3 minutes after applying your topcoat. This gives the polish time to set slightly while remaining workable. If you wait too long, the polish hardens and becomes difficult to remove cleanly.
Can I use regular rubbing alcohol instead of acetone?
Yes, 70% isopropyl rubbing alcohol works as a gentler alternative to acetone. It’s less harsh on skin but still effectively removes fresh polish. Some people prefer it because it’s less drying.
What should I do if I accidentally remove polish from my nail during cleanup?
Don’t panic. Let the area dry completely, then use your polish brush to carefully touch up the affected spot. If the polish has already partially dried, lightly dampen the area with acetone first to help the new polish blend seamlessly.
How can I prevent excess polish on skin in the first place?
Practice keeping your brush within nail boundaries as you apply polish. Apply a thin layer of cuticle oil around the nail before painting, or use the pre-oil technique that professional technicians employ.
Is it normal for cleanup to take a long time?
When you’re first learning, cleanup might take 10-15 minutes per manicure. As you practice and develop the skill, you’ll become faster. Experienced people can often complete cleanup in just a few minutes.
What’s the best product for removing dried polish from skin?
A paste made from baking soda and a small amount of water works well for dried polish. Alternatively, use an acetone-soaked cotton pad and hold it against the dried polish for a few seconds before gently rubbing.
Conclusion
Mastering how to clean nails after painting is a crucial skill that transforms your DIY manicures from amateur to salon-quality. The process doesn’t require expensive products or extensive training—just the right tools, proper technique, and consistent practice.
By following the step-by-step guide we’ve outlined, avoiding common mistakes, and incorporating professional tips into your routine, you’ll soon be creating manicures that rival professional salon work. Remember that the key to success is patience and attention to detail. Take your time with cleanup, work methodically through each nail, and don’t hesitate to make touch-ups as needed.
Whether you’re maintaining short nail care tips or experimenting with different styles and designs, proper cleanup is always essential. Invest in quality tools, establish a consistent routine, and you’ll find that cleaning nails after painting becomes faster and easier with practice.
The investment in learning proper nail cleaning technique pays dividends every time you do your nails. You’ll save money on professional manicures while enjoying the satisfaction of creating beautiful, professional-looking nails at home. Start implementing these techniques today and watch your nail care routine reach a new level of excellence.